How to Make Pour Over Coffee Without a Gooseneck Kettle
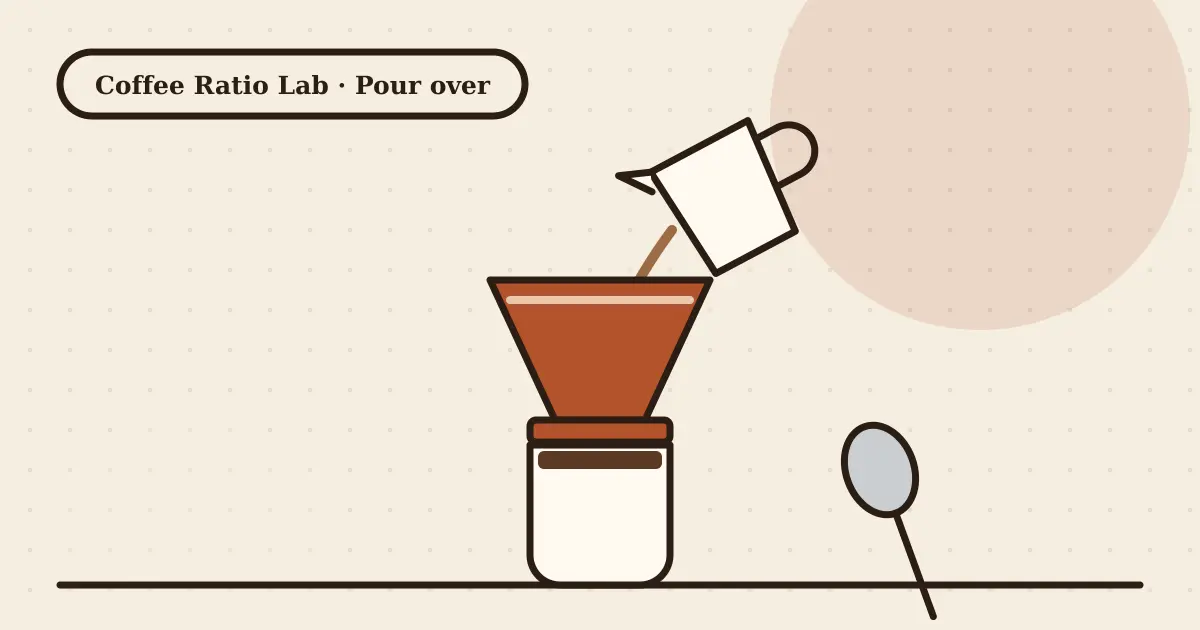
You don't need a gooseneck kettle for pour over. Pour from a small jug, pour onto the back of a spoon, or add water in several small pours. Use 15 g of medium-ground coffee to 250 ml (8.5 oz) of water at 92–96°C (198–205°F).
Pour over brewers such as cone drippers and flat-bottom drippers are inexpensive, but online guides often make it sound as if you also need a gooseneck kettle. You don't. A gooseneck simply makes it easier to pour slowly and precisely. With a few tricks, a normal kettle does the job well.
Why a gooseneck is recommended
A narrow, curved spout gives you a thin, steady stream that you can aim. That matters because pour over relies on water flowing evenly through the bed of coffee. A big splash in one spot can dig a channel, letting water rush through part of the coffee and miss the rest. That causes a cup that is bitter and sour at the same time.
The goal, then, is not the kettle itself but controlled, gentle pouring. Here's how to get that without one.
Method 1: Pour from a jug or measuring cup
A small jug with a pouring lip gives far more control than a wide kettle spout. Boil the kettle, pour the water into a heat-safe pitcher (a glass measuring cup works), and pour from that. The lip lets you form a thin stream, and the smaller vessel is easier to steer.
Method 2: Pour over the back of a spoon
Hold a tablespoon just above the coffee bed, upside down, and pour the water onto the back of it. The spoon breaks the stream so water spreads gently across the coffee instead of drilling a hole. This is especially helpful for the first pour.
Method 3: Fewer, smaller pours
Instead of trying to pour one slow continuous stream, add water in four or five small portions. Each portion only needs a few seconds of careful pouring, which is easier with an awkward spout.
Method 4: Choose a forgiving dripper
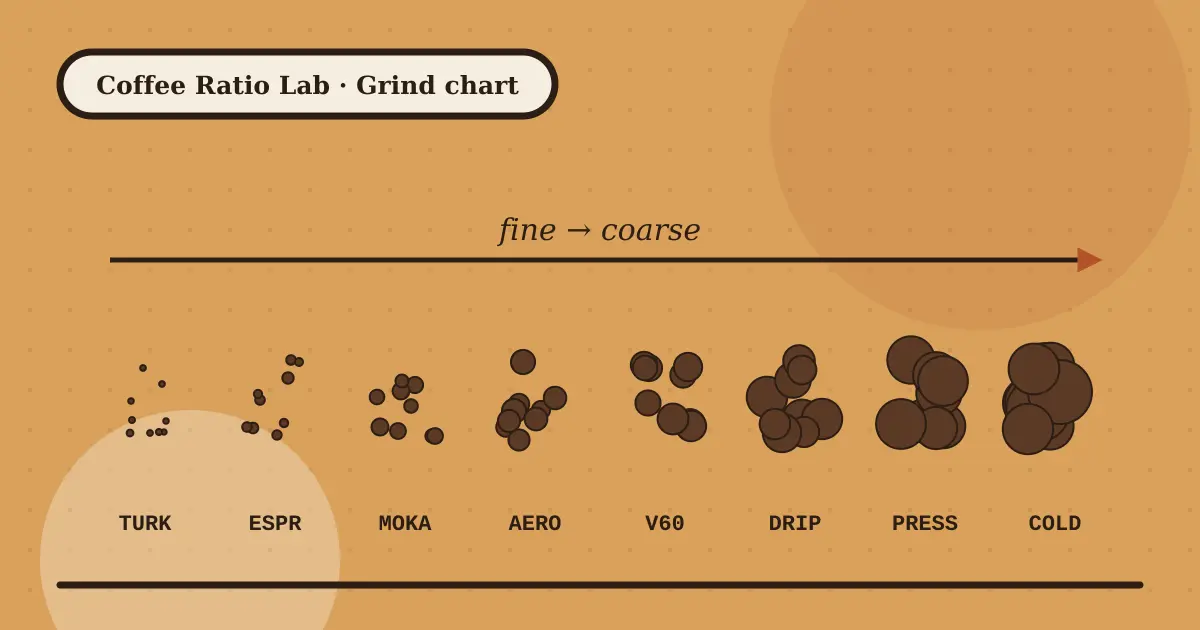
Flat-bottom drippers and drippers with small or few exit holes slow the flow down for you, so pouring technique matters less. Cone drippers with one large opening are the most sensitive to pouring speed.
A simple recipe for any kettle
| Setting | Value |
|---|---|
| Coffee | 15 g, medium grind (like granulated sugar) |
| Water | 250 g at about 92–96°C (198–205°F) |
| Ratio | 1:16.7 |
| Total time | Around 2:30–3:30 |
Steps
- Rinse the paper filter with hot water and discard the rinse water. This warms the brewer and removes papery taste.
- Add the coffee and give the dripper a gentle shake to level the bed.
- Bloom: pour about 40 g of water, enough to wet everything. Wait 30–40 seconds while it bubbles.
- Pour 1: add water to 100 g, pouring in slow circles from the center outwards, avoiding the paper edge.
- Pour 2: when the level has dropped a little, pour to 175 g.
- Pour 3: pour to 250 g.
- Swirl the dripper gently once so the bed settles flat, then let it drain.
No scale? Use these approximations
- 15 g of medium-ground coffee is about 2 heaped tablespoons.
- 250 ml (8.5 oz) of water weighs 250 g, so a measuring cup works fine.
- Mark your mug at the right level once with a scale and reuse that line.
Dialling in by taste
| If your coffee tastes… | Try this |
|---|---|
| Sour, thin, salty | Grind finer or pour more slowly |
| Bitter, dry, harsh | Grind coarser or pour a little faster |
| Weak | Use more coffee (1:15) |
| Too strong | Use less coffee (1:17) |
If you're struggling with bitterness across all your brewing, our bitter coffee fix-it chart covers more causes.
Frequently asked questions
Do I really need a gooseneck kettle for pour over?
No. It makes pouring easier, but a jug, a spoon or several small pours can give you very similar results.
What temperature should water be for pour over?
Around 92–96°C (198–205°F). Without a thermometer, wait about 30 seconds after the kettle boils.
Why does my pour over drain too slowly?
The grind is likely too fine, or fine particles are clogging the filter. Try a coarser setting and avoid pouring directly onto the paper.
How much coffee for one cup of pour over?
About 15 g of coffee for 250 ml (8.5 oz) of water is a good starting point.
Liked this guide? Get the next one free
Subscribe and get our free printable Brew Cheat Sheet — every ratio, grind and temperature on one page. Then one practical brewing tip a week. No spam, unsubscribe anytime.

We write step-by-step guides for everyday home brewers: moka pots, French presses, AeroPress, pour over and cold brew. Every guide is checked against manufacturer instructions and widely accepted brewing guidance, and updated when we learn something better. How we write our guides.